Introduction
Having a bad back is a pain in the butt! If you suffer from a bad back will know how debilitating it can be.
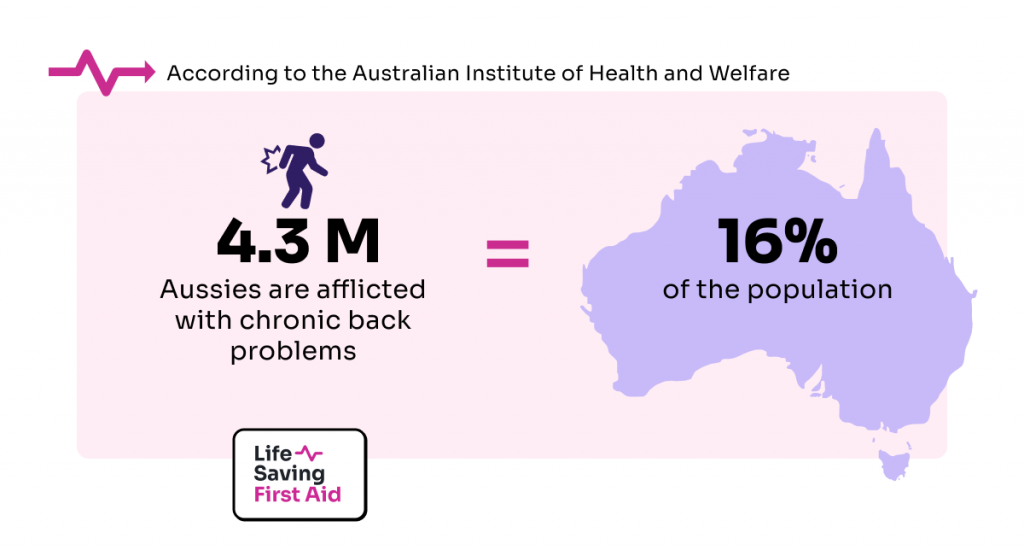
The age group with the most sufferers is 55 – 64 years old. The least, 0 – 44 years old.
And the cost to our health system?
A staggering $3.3 Billion in 2018/19 (24% of the total health system budget). One can safely assume this cost has increased for 2021/22.
A chronic and persistent bad back can have a seriously negative impact on a person’s quality of life.
“Prevention is better than cure” Ahhh.. that old chestnut. But, when it comes to looking after your back, it is great advice. Much better to prevent a bad back, than trying to fix one!
In this Blog, we are going to look at the mechanics of the body and give you some tips on how to lift and carry objects safely.
Biomechanics
Biomechanics is the science of movement of a living body, including how muscles, bones, tendons, and ligaments work together to produce movement.
When you decide to move, the motor cortex of your brain sends an electrical signal through the spinal cord and nervous system to the muscles. The muscles respond, moving body parts you want to be moved, by contracting and then relaxing.
Because they can pull bones, but can’t push them back to the original position, muscles work in pairs of Flexors and Extensors.
The flexor contracts to bend a limb at a joint. When the movement is completed, the flexor relaxes and the extensor contracts to straighten the limb at the same joint.
For example, the biceps muscle, in the front of the upper arm, is a flexor, and the triceps, at the back of the upper arm, is an extensor.
When you bend at your elbow, the biceps contract. Then the biceps relaxes and the triceps contract to straighten the elbow.
The motor cortex on the right side of the brain controls the muscles on the left side of the body and vice versa.
The contractions of the muscles can be classified as
- Static Contractions – this where the muscle is in constant muscle contraction – no movement of a part and muscle force is equal to the load. When you hold and carry a load for example.
- Dynamic Contractions – where there is visible movement of the load. Muscle forces are changing with the movement of the load. Lifting, pushing or dragging a load
Principle of levers and strength
For any body part to move, the appropriate muscles and bones must work together as a series of levers.
A lever.
- is a rigid structure, “the lever” – for example, your forearm or thigh bone ( Femur )
- is hinged at one point which is the pivot point or fulcrum – in this case, your elbow or knee joint
When forces (Effort) are applied to the lever – for example, your bicep contracts and raises your hand.
The force is removed – your bicep relaxes, your triceps contract and your hand drops down.
Strength.
Muscle strength is determined by the following
- Physiological strength – muscle development, cross-sectional size, results of training etc.
- Neurological strength – how powerful or weak is the signal that tells the muscle to work
- Mechanical strength – muscle power, angle on the lever, joint abilities etc.
These three factors work together and affect muscular strength.
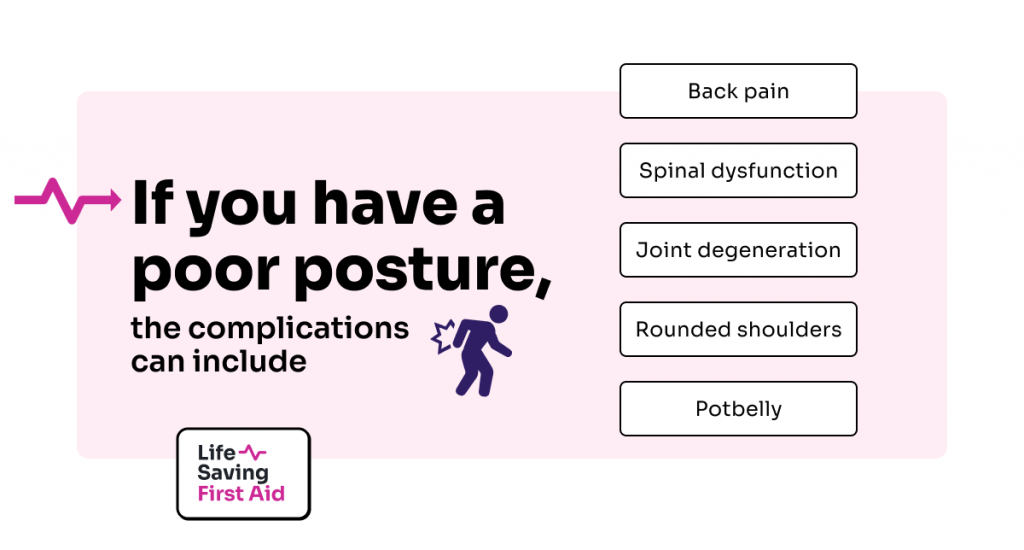
Good posture
Good posture is important, including positions when the body is not moving, as well as in motion.
You should try and keep your back as close to these 3 normal curves of the back as possible:
- A slight inward curve at the neck
- An outward curve between the shoulder blades
- An inward curve in the lower back
Try this simple test for yourself. Stand with your back against a wall. Your head, upper back, and butt should all touch the wall.
At your neck and your lower back, you should be able to fit your hand in between your body and the wall.
Do it now. You know you want to.
I can wait.
How did you go? Were you able to fit your hand in between your body and the wall at your neck and your lower back?
If you could…. Great. You have good posture.
You couldn’t? You could go and see a Physiotherapist, Osteopath or perhaps a Chiropractor for some advice.
You can improve your posture and spinal health by making a few lifestyle adjustments.
Flexion of the trunk and spine occurs when you bend over, without bending your knees, and your back is facing up. Extension is the opposite of Flexion. That is, the spine and trunk are bent backwards.
By maintaining appropriate posture and handling techniques you can reduce the possibility of injury.
What is Manual Handling?
Manual handling simply means using your body to exert force to handle, support or restrain anything.
This includes animals, people, and objects.
So, you can see it’s not only about lifting or carrying heavy objects. Pushing, pulling, holding, lowering, throwing, carrying, packing, assembling, cleaning, sorting, and using tools are all included in manual handling.
Pushing a trolley, walking the dog, or using a keyboard are all examples of manual handling.
See our manual handling course for more information.
SMART Technique
Remember Prevention is better than cure!
When lifting, use these safe working practices to reduce the risk of injury.
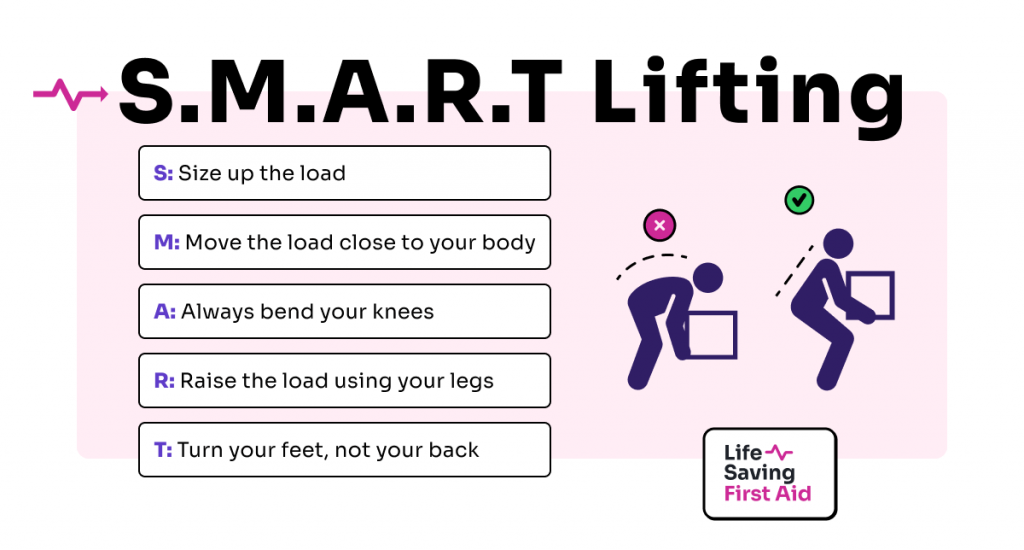
- S: Size up the load – Assess the load size, shape, and weight. If it is too heavy or big – do NOT lift it. Find another way to move the load.
- M: Move the load close to your body and get a firm grip that can be held for the full distance of the carry.
- A: Angle your knees wide and use a semi-squat, don’t stretch your back and keep your spine in its natural curve.
- R: Raise the load using your legs and complete the lift smoothly and in one move.
- T: Turn your feet, not your back when you change direction and set the load down by squatting. Let your legs do the work.
As well as remembering SMART when lifting objects, there are other safe working practices which you can use to reduce the risk of injury. Some of these are:
- Avoid lifting above shoulder height
- Use non-repetitive movements, and don’t stay in the same position for long periods
- Keep carrying distance as short as possible and free from obstacles
- Try not to change grip or ‘jerk’ the load
- Lower the load by bending the knees and keeping the back straight
- Let the legs do the work when pulling or pushing the load
- Your capabilities – can you carry the load, see where you are going etc
- Any mechanical or manual assistance required
- What you might need for Safety/protection
Please read the following article to learn more about risk assessment.
Lifting and carrying the load
When you have taken all these things into account and you are going to lift the load, now’s the time to use a good lifting method.
- Feet – shoulder width apart
- Knees – bend at the knees
- Hips – flex at hips, not waist or back
- Head – hold straight
- Back – keep in alignment with shoulders and pelvis
- Hands – use 2 hands and grip securely
- Arms and load – close to your body
- Stomach muscles – tighten, but remember to breathe
- Lift – use thigh and leg muscles, avoid twisting, rotating, or jerking
Now that you have lifted the load you need to carry it and then put it down.
Just as for lifting, there are some rules you should follow for both carrying and lowering, a load.
Some rules to follow for carrying the load include:
- Maintain a slightly arched or straight back
- Walk slowly and carefully
- Use your feet to change directions
- Do not twist your back
- Avoid leaning over
- Avoid lifting a load over your head
- If you become tired set the load down and rest
And when placing the load on the ground
- Position yourself where you want to put the load down
- Squat using your legs to do the work, not your back
- Avoid twisting your body and keep your head up as if looking forward
- When the load is where you want it and it is secure, you can release your grip
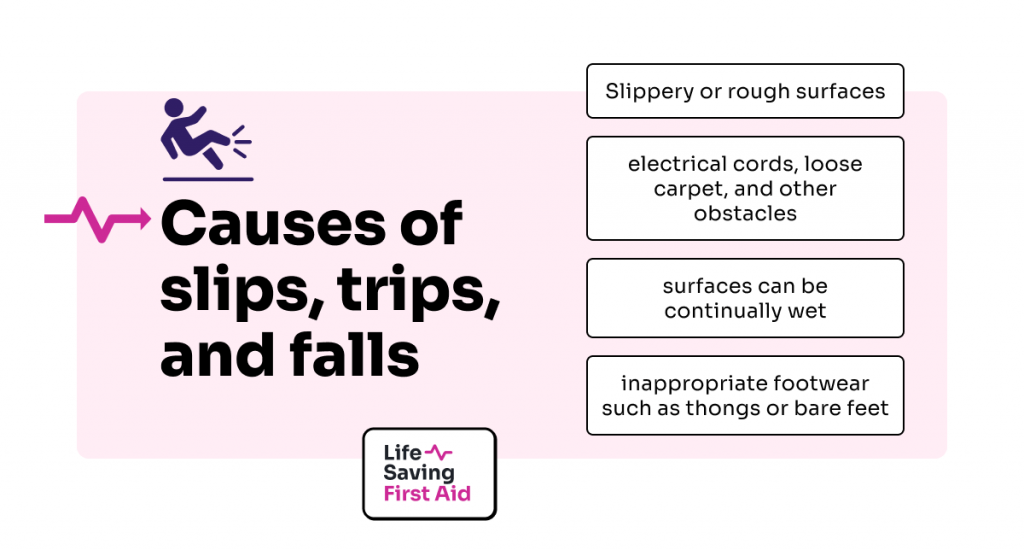
Slips, trips, and falls
Of course, when carrying any object, you need to be mindful of the path you are taking and aware of any slips, trips or falls risks on your way.
These are some of the causes of slips, trips, and falls and some of the injuries that you could suffer as a result
Some injuries you could suffer from slips, trips, or falls are:
- Broken bones
- Abrasions
- Bruising
- Strains and sprains
- Overstrained joints, bones, and ligaments and or dislocations
- Back or spinal injuries
- Serious traumatic injuries
Conclusion
- Maintain good posture
- Always lift SMART
- Reduce the risk associated with slips, trips, and falls in your workplace
- Practice good housekeeping
- Check the path to the destination for any hazards before lifting and moving.
Well, that’s that. Until next time….. Stay safe