What is bleeding?
Bleeding is when blood discharges from the circulatory system. Blood loss can occur due to small cuts, abrasions, or deep cuts and amputations.
Injuries to the body can also result in internal bleeding, which can range from minor to massive bleeds. Bleeding and blood loss can result in haemorrhagic shock.
There are around 5 litres of blood in the average person. With too much blood loss, the brain doesn’t get enough oxygen to support life. People who experience major injury and trauma may rapidly lose blood.
A loss of only 1.5ltr can result in
- a rapid heart rate higher than 120 beats per minute.
- A drop in blood pressure.
- Increased breathing rate.
You will die if you lose more than 2ltr or about 40 per cent of your blood. Check out this chart- “How much blood can you lose?“
There are three main types of Bleeding. Minor, Severe and Internal. It is quite possible you could experience all three types on one casualty.
Minor Bleeding
For example:
- from a small surface cut or nosebleed.
- Capillary bleeding occurs when the skin’s surface layer breaks due to abrasion or a graze. As a result, it will slowly ooze blood and may contain particles.
- Venous bleeding (a minor wound) is a laceration, cut or slice into the skin bleeding freely. The application of pressure or a bandage will control the bleeding.
- Minor pain, small cuts, weeping fluid
Severe Bleeding
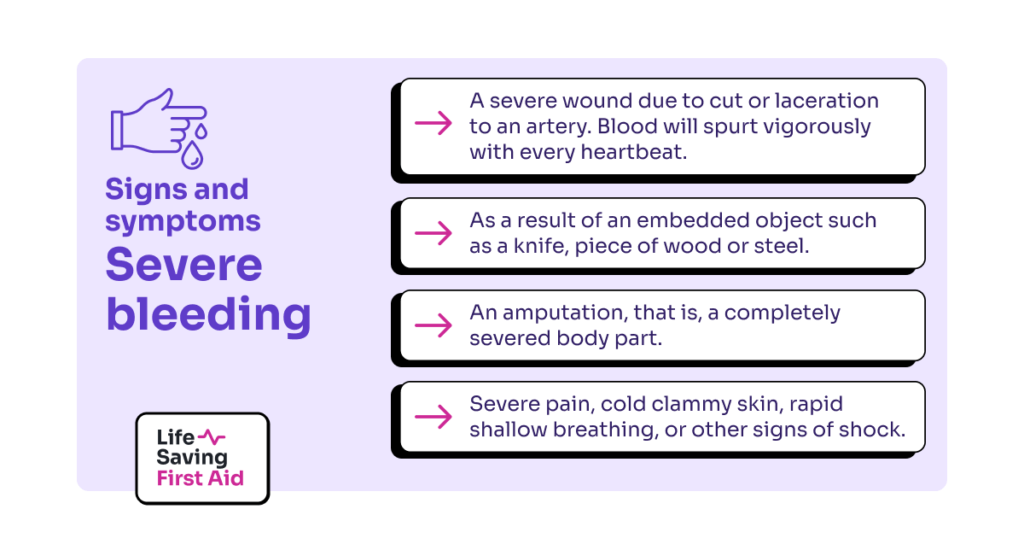
Severe bleeding:
- a severe wound due to cut or laceration to an artery. Blood will spurt vigorously with every heartbeat. Requires immediate action as the casualty can lose a large amount of blood quickly.
- As a result of an embedded object such as a knife, piece of wood or steel.
- An amputation, that is, a completely severed body part.
- Severe pain, cold clammy skin, rapid shallow breathing, or other signs of shock.
Internal Bleeding
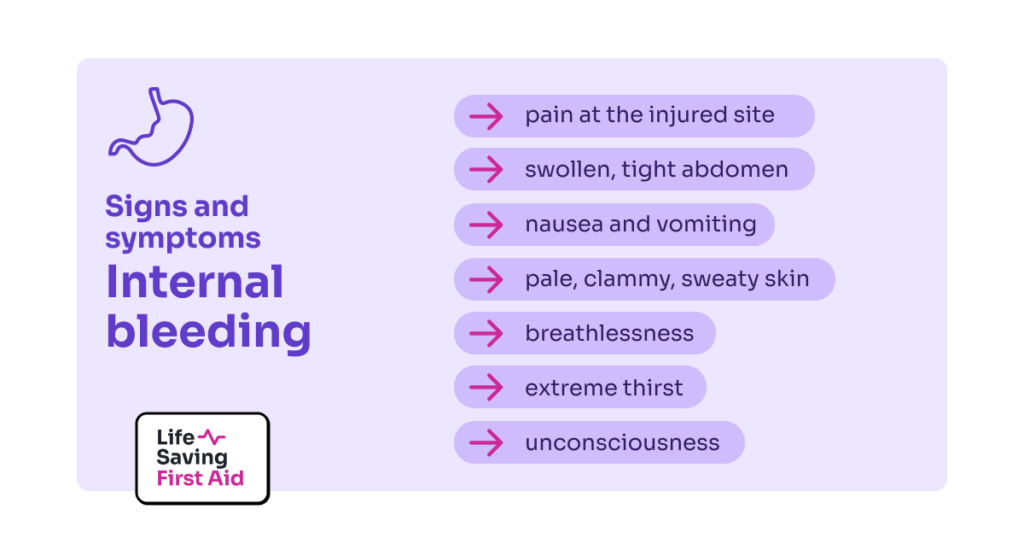
Internal bleeding is bleeding inside the body. You should always suspect internal bleeding when symptoms of shock are present.
Signs and Symptoms include:
- Coughing up blood, vomiting blood, bleeding from ears, anus, or blood in the urine.
- Bruising, pain, tenderness and swelling at the site
- Swollen, tight abdomen
- unconsciousness
Management
As with all our First Aid incidents we need to check for danger first to ensure it is safe for us to provide First Aid.
Carry out DRSABCD
Determine the type of bleeding so you can give the appropriate first aid.
Wash your hands and wear personal protective equipment if available.
Nosebleed
Sit casualty upright and tilt their head forward, ask them to squeeze and apply dissect pressure over the soft part of the of the nostrils below the bridge of the nose.
Place a cold pack on the back of their neck.
Hold for at least 10 minutes and if bleeding does not stop within 20 minutes seek medical help.
Minor Bleeding – Management
Using pressure on or around the wound is usually the fastest, easiest, and most effective way to stop external bleeding.
The aim is to stop further bleeding while waiting for help to arrive. There is no evidence that elevating a bleeding part will help control bleeding and there is the potential to cause more pain or injury.
If the wound is a graze there may be particles present in the wound. You should remove loose particles with tweezers or by flushing the wound with clean water or sterile saline solution. Do not rub or scrub the wound. If particles are still in the wound apply a bandage which is not too tight and call for medical help.
For a minor or small cut apply firm pressure to the wound using your hand, the casualties’ hand, or a bandage to stop the bleeding. The preferred dressing would be sterile, non-stick, and non-allergenic, . However, use what you have.
Monitor the casualty and seek medical help if needed.
Severe bleeding – Management
If the bleeding is severe or life-threatening, controlling it should take priority over airway and breathing interventions.
You should lie the casualty down, apply pressure on the wound, and send for an ambulance.
Wash your hands and wear PPE if available.
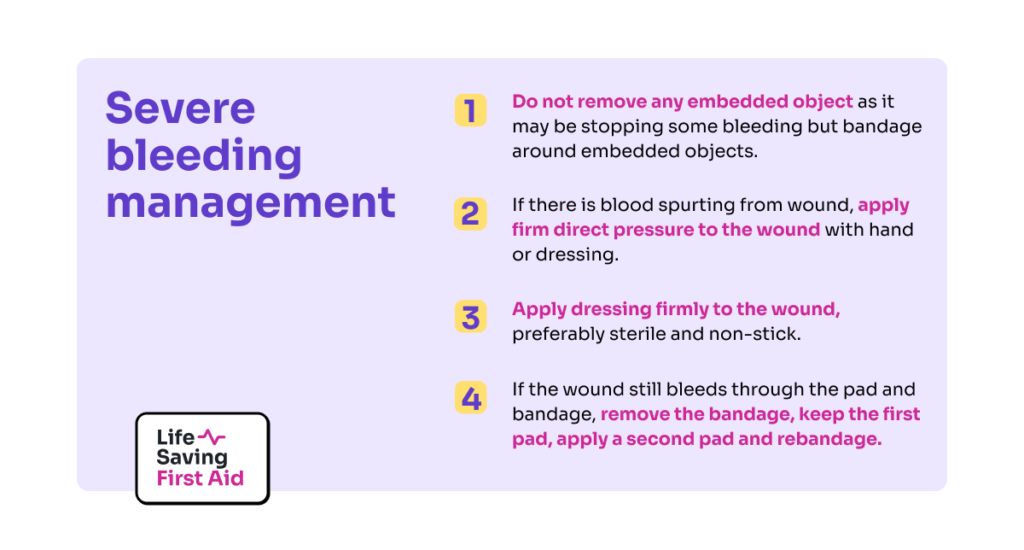
- Do not remove any embedded object as it may be stopping some bleeding but Bandage around embedded objects to apply indirect pressure to the wound.
- If there is blood spurting from wound, apply firm direct pressure to the wound with hand or dressing.
- Apply dressing firmly to the wound, preferably sterile and non-stick
- In cases where the wound still bleeds through the pad and bandage, remove the bandage, keep the first pad, apply a second pad and rebandage.
If the wound still bleeds through the bandage, remove all bandages and pads, reassess the wound if a bleeding point has been missed, then apply a fresh set of pads and bandages.
If you find the following or similar:
- An amputated or partially amputated limb above wrist or ankle
- A victim of a shark attack, propeller cuts or similar major trauma to any part of the body
- Or bleeding not controlled by local pressure
Call 000 immediately and you should consider the use of a tourniquet.
Tourniquets
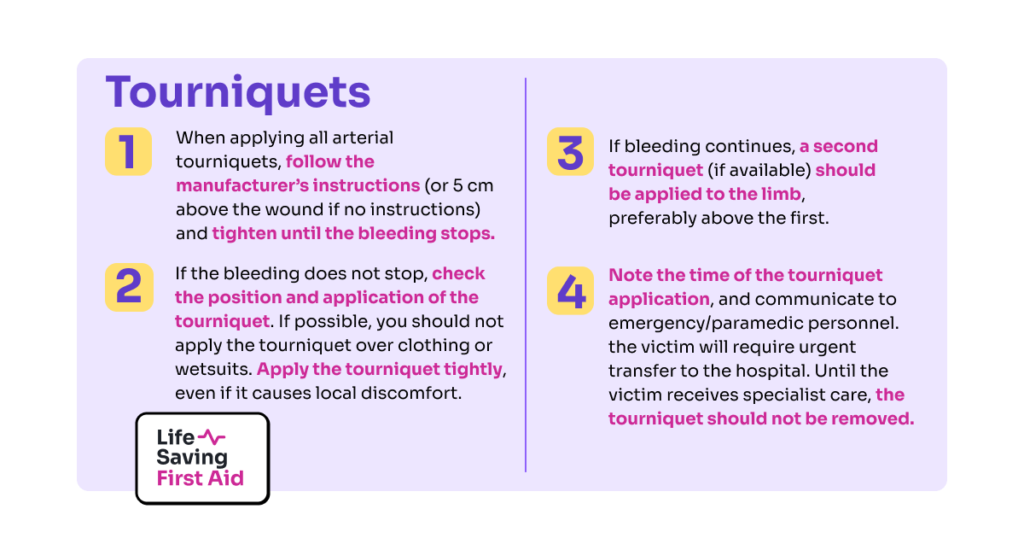
If you cannot control the bleeding by direct pressure or it is life-threatening bleeding from a limb, use an arterial tourniquet.
Do not be apply a tourniquet over a joint or wound.
The following guidelines apply if you need to use a tourniquet:
- When applying all arterial tourniquets, follow the manufacturer’s instructions (or 5 cm above the wound if no instructions) and tighten until the bleeding stops.
- If the bleeding does not stop, check the position and application of the tourniquet. If possible, you should not apply the tourniquet over clothing or wetsuits. Apply the tourniquet tightly, even if it causes local discomfort
- If bleeding continues, a second tourniquet (if available) should be applied to the limb, preferably above the first.
- Note the time of the tourniquet application, and communicate to emergency/paramedic personnel. the victim will require urgent transfer to the hospital. Until the victim receives specialist care, the tourniquet should not be removed
You can improvise a tourniquet if there is no tourniquet available. Although an improvised tourniquet is unlikely to stop the bleeding and poses the risk of increased bleeding and tissue damage, an improvised tourniquet is better than none at all in life-threatening bleeding.
For example, using materials found in a first aid kit, clothing, or other similarly available items you can improvise a tourniquet. Tighten your Improvised tourniquet by twisting a rod or stick under the improvised tourniquet, similar to the windlass in commercial tourniquets.
You must ensure there is a record of the time your tourniquet was applied. Also, ensure you do not cover the tourniquet with clothing.
Haemostatic Dressing
Another method to help stop severe bleeding is the use of a Haemostatic Dressing.
Haemostatic dressings are filled with agents that help stop bleeding, such as kaolin and chitosan. While commonly used in surgical and military settings, their use in the civilian, non-surgical setting (such as first aid) is becoming more common.
Lie the person down and check for signs of shock and treat.
Internal Bleeding
This occurs when blood escapes from the arteries, veins, or capillaries into tissues or cavities in the body.
Remember, an injured person may be bleeding internally even if you can’t see any blood. An internal injury may cause bleeding that remains contained within the body; for example, within the skull or abdominal cavity.
It is important to ask the right questions to collect the relevant information. Listen carefully to what the person tells you about their injury. Watch for the signs and symptoms of shock. In the case of a head injury, the signs and symptoms of concussion.
The signs and symptoms of internal bleeding depend on where the bleeding is inside the body, but may include:
- pain at the injured site
- swollen, tight abdomen
- nausea and vomiting
- pale, clammy, sweaty skin
- breathlessness
- extreme thirst
- unconsciousness.
For signs and symptoms specific to concussion (caused by trauma to the head) check out our blog – “Head Injuries”
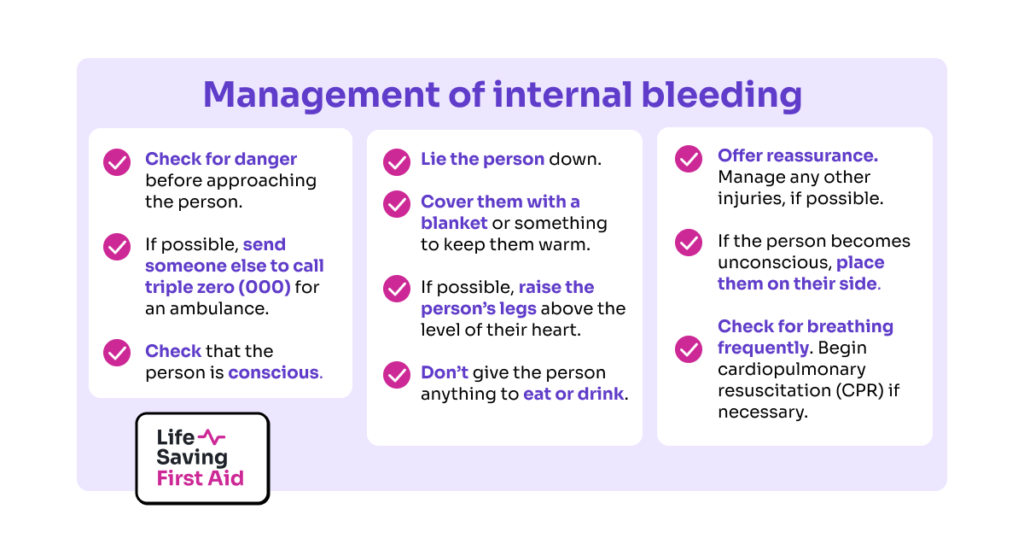
Management of internal bleeding
First aid cannot realistically manage or treat any kind of internal bleeding. Therefore, seeking prompt medical help is vital.
Above all, severe internal bleeding is life-threatening and requires urgent treatment in hospital so CALL 000
Lie the person down, make them as comfortable as possible and check for signs of shock.
If there is bruising to a limb and no external bleeding, use pressure and a cold pack if available. Above all, make the casualty as comfortable as possible keeping them warm and monitoring their condition till the arrival of the ambulance.
Some things you can do are:
- Check for danger before approaching the person.
- If possible, send someone else to call triple zero (000) for an ambulance.
- Check that the person is conscious.
- Lie the person down.
- Cover them with a blanket or something to keep them warm.
- If possible, raise the person’s legs above the level of their heart.
- Don’t give the person anything to eat or drink.
- Offer reassurance. Manage any other injuries, if possible.
- If the person becomes unconscious, place them on their side. Check for breathing frequently. Begin cardiopulmonary resuscitation (CPR) if necessary.
Conclusion
- There are three types of bleeding, Minor, Severe and Internal
- Use PPE if available and apply DRSABCD
- Call an Ambulance ASAP if needed
- Apply direct pressure to stop bleeding and use sterile non-stick dressings if available
- Do not remove embedded objects
- Be aware of and look for signs of shock
- Only use a tourniquet as a last resort
- For a nosebleed, tilt the head forward, and apply pressure to the bridge of the nose for 10 minutes. If not stopped within 20 min. Call an ambulance.
And always monitor and reassure the casualty.
Well, that’s that. Until next time… Stay safe.
Adrian
