“Ricer – any person who spends more money to make their car look like it goes fast than they spend on actually making it go fast”
And accordingly, they are subjected to scorn and derision as in – “Dude, that lame ass Honda ricer sucks.!”
As interesting as that is, it’s not what this Blog is about of course.
In this Blog, I want to talk about RICER for First Aid.
In other words, how to recognise the signs and symptoms of, and apply the correct first aid management for, dislocations and sprains and strains i.e., RICER
RICER is our initial first aid action plan to manage joint injuries such as sprains and strains.
Created in 1978 by Dr Gabe Mirkin in his book ” The Sports Medicine Book” the acronym RICE – Rest, Ice, Compression and Elevation, was the standard initial first aid action plan for the management of soft tissue injuries.
In recent years, Referral was added on the end to make it RICER, recognising the need for the first aider to recommend the injured person seek medical advice for their injury. In 2019/20 there were 11,573 hospitalisations for dislocations and soft tissue injuries (AIHW-INJCAT-225-A-tables) so if you are the first aid officer for your local sporting club on the weekend, it is more than likely you have had to manage soft tissue injuries.
Joints
I reckon the best place to start is with an understanding of the parts of the body likely to suffer dislocation, sprains and strains.
These are the joints.
Ligaments support parts of the joints while tendons join the muscles to the bone.
Smooth cartilage prevents friction as the bones move against one another.
In freely movable joints, the entire joint is enclosed inside a membrane filled with lubricating synovial fluid, which helps to provide extra cushioning against impact.
In General, the greater the range of movement, the higher the risk of injury. This is because the strength of the joint is reduced.
There are different types of joints allowing different movements.
Ball and socket joint – where the rounded head of one bone sits within the cup of another, for example, the hip joint or shoulder joint. Able to move in all directions
Saddle joint – allows movement back and forth and from side to side, but does not allow rotation, such as the joint at the base of the thumb.
Hinge joint –where the two bones open and close in one direction only such as the knee and elbow joints.
Condyloid joint –movement without rotation, such as in the jaw or finger joints.
Gliding joint –where the smooth surfaces slip over one another, allowing some movement, such as the wrist joints.
Common joint injuries include
Dislocations – when two connected bones slip out of position in a joint.
Fractures and breaks
Sprains and strains – of the Ligaments and Tendons around the joint
Overuse injuries such as tendonitis – making the same movements repeatedly over time, the body’s joints and surrounding tendons and muscles become irritated and inflamed.
Osteoporosis – bones that are weakened from a loss of bone density, due to a lack of calcium. As a result, the bones that make up the joint may break easily.
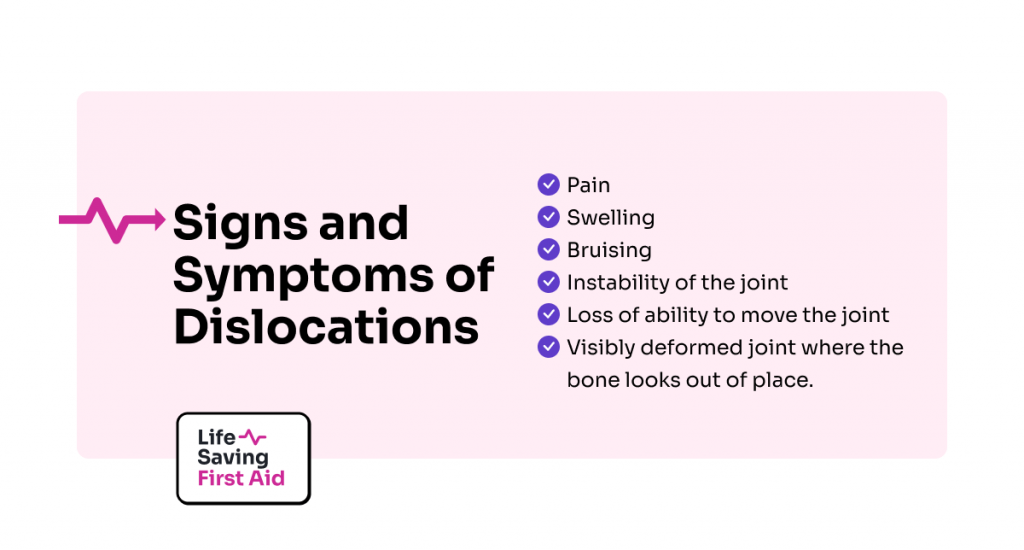
Signs and Symptoms of Dislocations
Management of Dislocations
For a dislocation, DO NOT try to replace or reduce the dislocation! Leave that for the Ambulance or Medical Professional. You might pinch nerves or further injure the arm if the joint is reset incorrectly.
Follow these steps
Follow DRSABCD (Always a good place to start!)
If the injury is to a limb: Check for circulation and, if absent, move the limb gently to try and restore it.
Call 000 for an ambulance.
Place and support the limb using soft padding and bandages.
Use icepacks, if possible, over the joint.
If the shoulder is dislocated, support the arm in a position of least discomfort use a sling if needed and apply an ice compress.
If the wrist is dislocated, support using a sling and apply an ice compress.
When using ice, make sure to apply it for ten minutes with 1 Hour rest in between or 20 minutes on/2hrs off
Sprains and Strains
The difference between a sprain and a strain is that a sprain injures the bands of tissue that connect two bones, while a strain involves an injury to a muscle or to the band of tissue that attaches a muscle to a bone.
Sprain
A common injury seen in ligaments is a sprain.
Ligaments are bands of tough elastic tissue around your joints. They connect bone to bone, give your joints support, and limit their movement. You have ligaments around your knees, ankles, elbows, shoulders, and other joints.
A Sprain is when a ligament supporting a joint is overstretched or torn. Sprains commonly happen in the ankle, knee, or wrist.
Strain
Strains on the other hand occur when a tendon, or muscle, is overstretched or torn.
Tendons are tough, flexible, and inelastic bands of fibrous connective tissue that connect muscles to bones.
Common areas affected by strains are the leg, foot, calf, groin, hamstring and back.
Strains are often the result of repetitive movements and athletics.
Athletes who overtrain their bodies without adequate time for rest and muscle repair in between workout sessions are at increased risk.
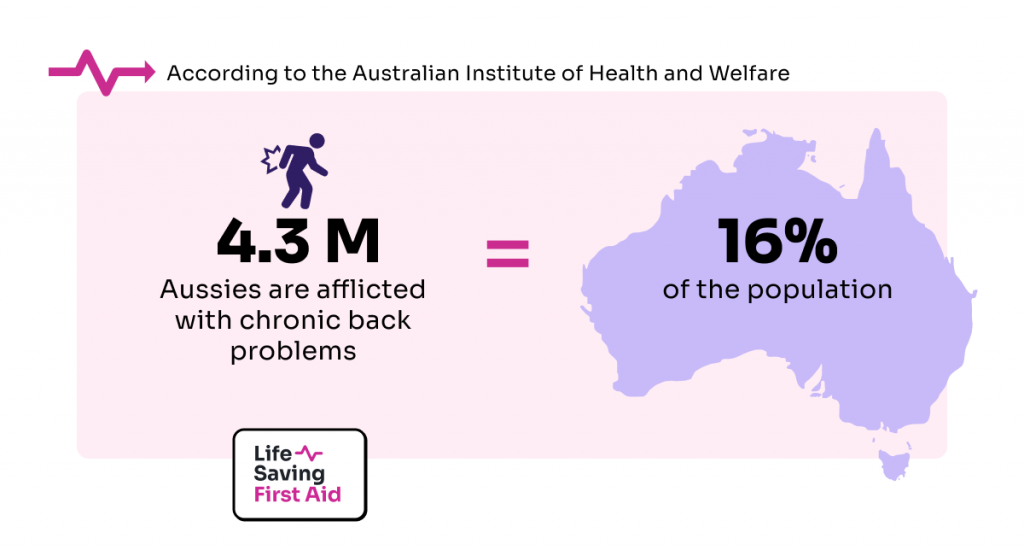
The age group with the most sufferers is 55 – 64 years old. The least, 0 – 44 years old.
And the cost to our health system?
A staggering $3.3 Billion in 2018/19 (24% of the total health system budget). One can safely assume this cost has increased for 2021/22.
A chronic and persistent bad back can have a seriously negative impact on a person’s quality of life.
“Prevention is better than cure” Ahhh.. that old chestnut. But, when it comes to looking after your back, it is great advice. Much better to prevent a bad back, than trying to fix one!
In this Blog, we are going to look at the mechanics of the body and give you some tips on how to lift and carry objects safely.
Biomechanics
Biomechanics is the science of movement of a living body, including how muscles, bones, tendons, and ligaments work together to produce movement.
When you decide to move, the motor cortex of your brain sends an electrical signal through the spinal cord and nervous system to the muscles. The muscles respond, moving body parts you want to be moved, by contracting and then relaxing.
Because they can pull bones, but can’t push them back to the original position, muscles work in pairs of Flexors and Extensors.
The flexor contracts to bend a limb at a joint. When the movement is completed, the flexor relaxes and the extensor contracts to straighten the limb at the same joint.
For example, the biceps muscle, in the front of the upper arm, is a flexor, and the triceps, at the back of the upper arm, is an extensor.
When you bend at your elbow, the biceps contract. Then the biceps relaxes and the triceps contract to straighten the elbow.
The motor cortex on the right side of the brain controls the muscles on the left side of the body and vice versa.
The contractions of the muscles can be classified as
Static Contractions – this where the muscle is in constant muscle contraction – no movement of a part and muscle force is equal to the load. When you hold and carry a load for example.
Dynamic Contractions – where there is visible movement of the load. Muscle forces are changing with the movement of the load. Lifting, pushing or dragging a load
Principle of levers and strength
For any body part to move, the appropriate muscles and bones must work together as a series of levers.
A lever.
is a rigid structure, “the lever” – for example, your forearm or thigh bone ( Femur )
is hinged at one point which is the pivot point or fulcrum – in this case, your elbow or knee joint
When forces (Effort) are applied to the lever – for example, your bicep contracts and raises your hand.
The force is removed – your bicep relaxes, your triceps contract and your hand drops down.
Strength.
Muscle strength is determined by the following
Physiological strength – muscle development, cross-sectional size, results of training etc.
Neurological strength – how powerful or weak is the signal that tells the muscle to work
Mechanical strength – muscle power, angle on the lever, joint abilities etc.
These three factors work together and affect muscular strength.
Good posture
Good posture is important, including positions when the body is not moving, as well as in motion.
You should try and keep your back as close to these 3 normal curves of the back as possible:
A slight inward curve at the neck
An outward curve between the shoulder blades
An inward curve in the lower back
Try this simple test for yourself. Stand with your back against a wall. Your head, upper back, and butt should all touch the wall.
At your neck and your lower back, you should be able to fit your hand in between your body and the wall.
Do it now. You know you want to.
I can wait.
How did you go? Were you able to fit your hand in between your body and the wall at your neck and your lower back?
If you could…. Great. You have good posture.
You couldn’t? You could go and see a Physiotherapist, Osteopath or perhaps a Chiropractor for some advice.
You can improve your posture and spinal health by making a few lifestyle adjustments.
Flexion of the trunk and spine occurs when you bend over, without bending your knees, and your back is facing up. Extension is the opposite of Flexion. That is, the spine and trunk are bent backwards.
By maintaining appropriate posture and handling techniques you can reduce the possibility of injury.
What is Manual Handling?
Manual handling simply means using your body to exert force to handle, support or restrain anything.
This includes animals, people, and objects.
So, you can see it’s not only about lifting or carrying heavy objects. Pushing, pulling, holding, lowering, throwing, carrying, packing, assembling, cleaning, sorting, and using tools are all included in manual handling.
Pushing a trolley, walking the dog, or using a keyboard are all examples of manual handling.
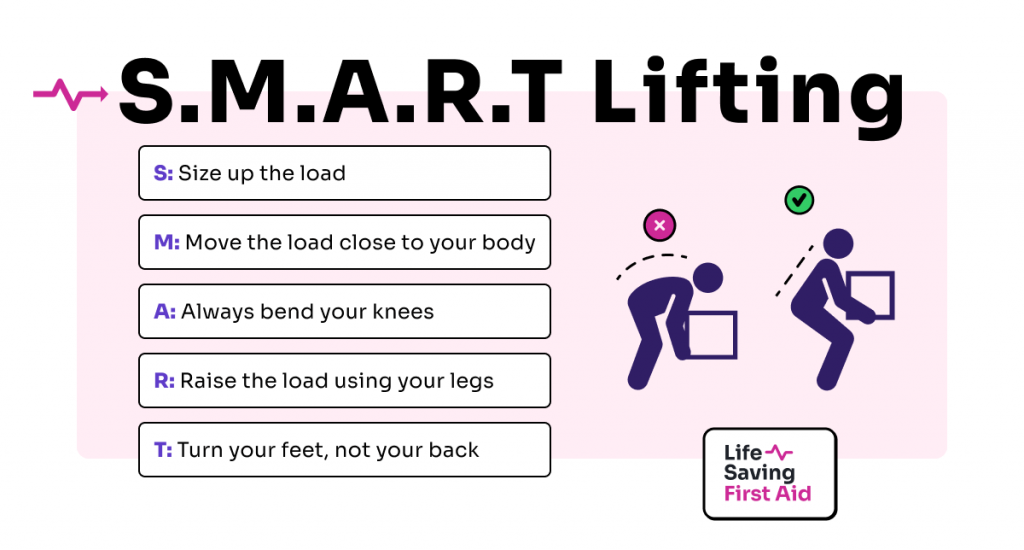
Remember Prevention is better than cure! When lifting, use these safe working practices to reduce the risk of injury.
S:Size upthe load – Assess the load size, shape, and weight. If it is too heavy or big – do NOT lift it. Find another way to move the load.
M:Move the load close to your body and get a firm grip that can be held for the full distance of the carry.
A:Angle your knees wide and use a semi-squat, don’t stretch your back and keep your spine in its natural curve.
R: Raise the load using your legs and complete the lift smoothly and in one move.
T:Turn your feet, not your back when you change direction and set the load down by squatting. Let your legs do the work.
As well as remembering SMART when lifting objects, there are other safe working practices which you can use to reduce the risk of injury. Some of these are:
Avoid lifting above shoulder height
Use non-repetitive movements, and don’t stay in the same position for long periods
Keep carrying distance as short as possible and free from obstacles
Try not to change grip or ‘jerk’ the load
Lower the load by bending the knees and keeping the back straight
Let the legs do the work when pulling or pushing the load
Your capabilities – can you carry the load, see where you are going etc
Any mechanical or manual assistance required
What you might need for Safety/protection
Please read the following article to learn more about risk assessment.
Lifting and carrying the load
When you have taken all these things into account and you are going to lift the load, now’s the time to use a good lifting method.
Feet – shoulder width apart
Knees – bend at the knees
Hips – flex at hips, not waist or back
Head – hold straight
Back – keep in alignment with shoulders and pelvis
Hands – use 2 hands and grip securely
Arms and load – close to your body
Stomach muscles – tighten, but remember to breathe
Lift – use thigh and leg muscles, avoid twisting, rotating, or jerking
Now that you have lifted the load you need to carry it and then put it down.
Just as for lifting, there are some rules you should follow for both carrying and lowering, a load.
Some rules to follow for carrying the load include:
Maintain a slightly arched or straight back
Walk slowly and carefully
Use your feet to change directions
Do not twist your back
Avoid leaning over
Avoid lifting a load over your head
If you become tired set the load down and rest
And when placing the load on the ground
Position yourself where you want to put the load down
Squat using your legs to do the work, not your back
Avoid twisting your body and keep your head up as if looking forward
When the load is where you want it and it is secure, you can release your grip
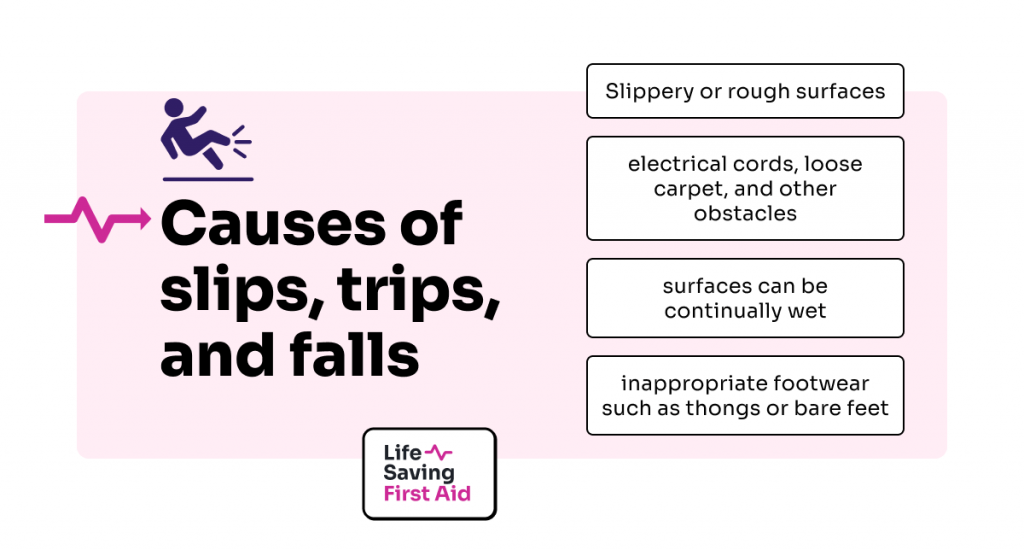
Slips, trips, and falls
Of course, when carrying any object, you need to be mindful of the path you are taking and aware of any slips, trips or falls risks on your way.
These are some of the causes of slips, trips, and falls and some of the injuries that you could suffer as a result
Some injuries you could suffer from slips, trips, or falls are:
Broken bones
Abrasions
Bruising
Strains and sprains
Overstrained joints, bones, and ligaments and or dislocations
Back or spinal injuries
Serious traumatic injuries
Conclusion
Maintain good posture
Always lift SMART
Reduce the risk associated with slips, trips, and falls in your workplace
Practice good housekeeping
Check the path to the destination for any hazards before lifting and moving.
There can be extreme joy with snow sports. Excitement. Adrenaline. The breathlessness experienced after achieving a perfect run or, through luck or skill, narrowly avoiding catastrophe.
That’s a good day.
A bad day?
When gravity, weather and snow conditions, fatigue or a momentary lack of concentration combine, you catch an edge, and host a yard sale*. Or worse still, you suffer an injury worthy of a Ski Patrol rescue that keeps you away from the snow for the rest of the season. Maybe permanently.
Of course, prevention is better than a cure so, do your best to prepare for your chosen activity on the slopes. Snowsafe Australia has some great advice for safety and preparation. https://www.snowsafe.org.au/alpine-safety but that’s a whole different subject.
This blog is about injuries common to snow sports and how to manage them.
Approximately 277,000 participants in snowboarding and skiing for 2019 – 20 aged 15 and over, according to AusPlay. Add another thousand or five for children under 15 years!
Safety on the slopes
There is some great information on how to manage an accident while skiing or snowboarding on the Snowsafe website ( https://www.snowsafe.org.au/accident )
Here is a brief over of the main points you need to know in case of an accident on the slopes.
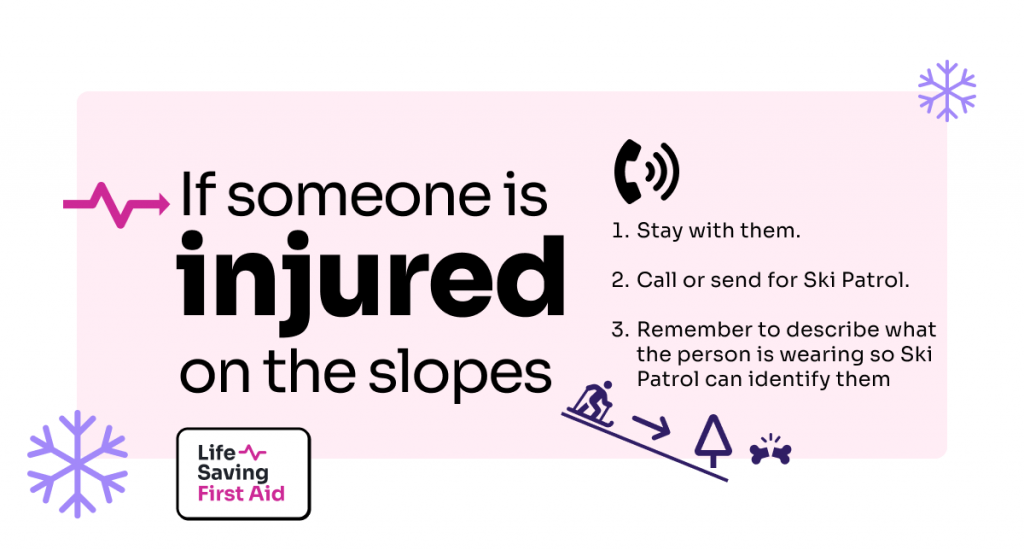
To get to the casualty you should approach from the side or up from below their position, especially if the slopes are icy.
If the slopes are icy it is important to keep your skis or snowboard on. If you can take them off, cross your skis, or place your board upright in the snow, uphill from the casualty. If possible you can also get someone to stand uphill of the casualty to give a warning to others using the slope.
Do not remove the casualty’s skis or snowboard, and leave the casualty where they are if it is safe to do so.
Reassure the casualty and keep them warm. Wait for the ski patrol.
Injuries
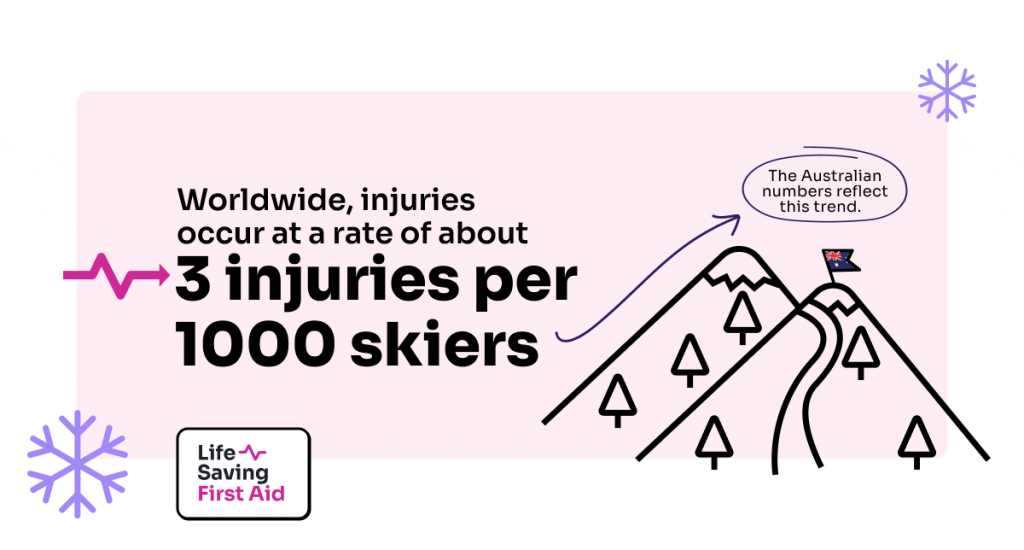
From the AIHW, in 2019-20 there was a total of 1,654 hospitalisations due to Winter sports injuries. 59% of those were injuries due to falls.
The most common injuries were fractures at 60% with dislocations and soft tissue injuries combined at 27%
Fractures mean broken bones: arms, legs, ribs. Dislocations and soft tissue injuries refer to dislocated joints: shoulder, knee, wrist, and soft tissue injuries: sprains and strains of wrists, ankles, muscles, and tendons.
Concussion from head injuries is always a concern.
It is recommended that the Ski Patrol manage all first aid on the slopes. However, there may be occasions when they are delayed, not available, or you are some distance away from them such as cross-country skiing.
If this is the case you may have to provide some First Aid to the casualty.
Joints
When muscles, tendons and ligaments are cold they have less elasticity and are therefore more prone to injury. It is also well known that sporting performance is reduced in cold conditions. When these two factors combine, falls are more likely and injuries are usually more severe.
Statistically, ligaments and muscles acting on the joints of the knees, shoulders, wrists, and spine are the most common soft tissue injuries from falls while skiing or snowboarding.
Joints absorb shocks and give us movement; ligaments support parts of the joints and tendons join the muscles to the bone.
As mentioned before, Joints connect bones. They provide stability to the skeleton and allow movement.
Joints are held together and supported by ligaments. Smooth cartilage prevents friction as the bones move against one another.
In freely movable joints, the entire joint is enclosed inside a membrane filled with lubricating synovial fluid, which helps to provide extra cushioning against impact.
In general, the greater the range of movement, the higher the risk of injury. This is because the strength of the joint is reduced.
There are different types of joints allowing different movements.
Ball and socket joint – where the rounded head of one bone sits within the cup of another, for example, the hip joint or shoulder joint. Able to move in all directions
Saddle joint – allows movement back and forth and from side to side, but does not allow rotation, such as the joint at the base of the thumb.
Hinge joint –where the two bones open and close in one direction only such as the knee and elbow joints.
Condyloid joint –movement without rotation, such as in the jaw or finger joints.
Gliding joint –where the smooth surfaces slip over one another, allowing some movement, such as the wrist joints.
Common joint injuries include
Dislocations – when two connected bones slip out of position in a joint.
Fractures and breaks
Sprains and strains – of the Ligaments and Tendons around the joint
Overuse injuries such as tendonitis – making the same movements repeatedly over time, the body’s joints and surrounding tendons and muscles become irritated and inflamed.
Osteoporosis – bones that are weakened from a loss of bone density, due to a lack of calcium. As a result, the bones that make up the joint may break easily.
Signs and Symptoms of a dislocation
Pain, Swelling, and Bruising
Instability of the joint and or Loss of ability to move the joint
Visibly deformed joint where the bone looks out of place
Management of a dislocation
DO NOT try to replace or reduce a dislocation. Leave that for the Ski Patrol, Ambulance or Medical Professional.
Follow these steps:
If the injury is to a limb: Check for any circulation and if absent, move the limb gently to try and restore it.
Call 000 for an ambulance, or in this case, Ski Patrol.
Place and support the limb using soft padding and bandages.
Use icepacks, if possible, over the joint.
If the shoulder is dislocated, support the arm in a position of least discomfort use a sling if needed and apply an ice compress.
If the wrist is dislocated, support using a sling and apply an ice compress.
When using ice, make sure to apply it for ten minutes with 1 Hour rest in between or 20 minutes on / 2hrs off
Sprain and Strains
The difference between a sprain and a strain is that a sprain injures the bands of tissue that connect two bones together, while a strain involves an injury to a muscle or to the band of tissue that attaches a muscle to a bone.
Ligaments are bands of tough elastic tissue around your joints. They connect bone to bone, give your joints support, and limit their movement. You have ligaments around your knees, ankles, elbows, shoulders, and other joints.
A Sprain is when a ligament supporting a joint is overstretched or torn. Sprains commonly happen in the ankle, knee, or wrist.
Strain
Strains on the other hand occur when a tendon, or muscle, is overstretched or torn.
Tendons are tough, flexible, and inelastic bands of fibrous connective tissue that connect muscles to bones.
Strains are often the result of repetitive movements and from overtraining without adequate time for rest and muscle repair in between workout sessions.
Common areas affected by strains are the leg, foot, calf, groin, hamstring and back.
Signs and Symptoms for Strains and Sprains
This include:
Pain, bruising and swelling in the affected area
Sudden pain in the affected area along with loss of power in the affected limb
The muscle in the affected limb is tender to the touch
Management
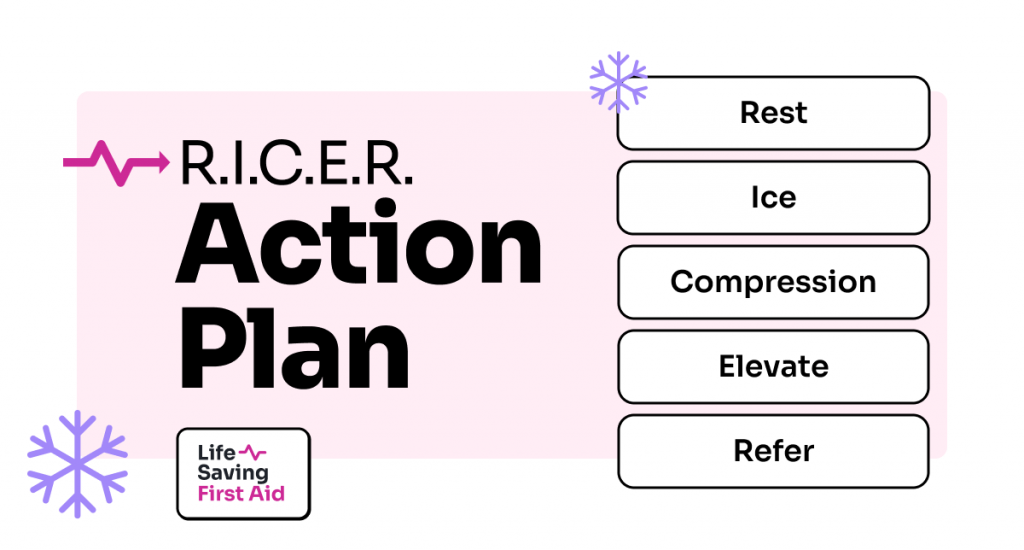
To manage strains and sprains we can follow our R.I.C.E.R. action plan
Rest – encourage the casualty to stop any activity and make them comfortable
Ice – Apply an icepack, wrapped in cloth, to the injured area
Compression – apply an elastic bandage, if available, over the injured area. Not too tight, you need to allow for circulation
Elevate – elevate the injured area above their heart height if practical
Refer – refer them to a medical professional to have the area looked at.
When treating using R.I.C.E.R. you should also do no Harm.
NO
Heat – apply no heat to the injury
Alcohol – No alcohol
Running – so no activity that might affect the injury
Massage – do not massage the injury.
This method should be used within the first 48–72 hours (depending on severity) after the injury to speed up the recovery process.
Fractures
Fractures, although painful, are often not life-threatening injuries. However, it is important they are managed correctly to ensure the healing process – around four to eight weeks to heal, depending on the age and health of the person and the type of break – can run its course without any disruptions such as infection, permanent deformity, or lifelong disability.
There are different types of bone fractures. Some are more severe than others, depending on the strength and direction of the force, the bone involved, and the person’s age and general health.
As a First Aider, it is important you can recognise the different types of fractures so you can apply the correct First Aid.
Different types of fractures include
Closed or simple fracture – the broken bone has not pierced the skin
Open or compound fracture – the broken bone juts out through the skin, or a wound leads to the fracture site.
Greenstick fracture – A greenstick fracture occurs when a bone bends and cracks, instead of breaking completely into separate pieces. The fracture looks like what happens when you try to break a small, “green” branch on a tree. This can occur in children because their bones are more flexible than an adult’s bones
Hairline fracture – the most common form is a stress fracture, often occurring in the foot or lower leg because of repeated stress from activities such as jogging or running
Complicated fracture – structures surrounding the fracture are injured. There may be damage to the veins, arteries or nerves, and there may also be an injury to the lining of the bone (the periosteum)
Comminuted fracture – the bone is shattered into small pieces. This type of complicated fracture tends to heal more slowly
Compression fracture – occurs when two bones are forced against each other. The bones of the spine, called vertebrae, can have this type of fracture. Older people, particularly those with osteoporosis, are at higher risk.
It’s good to remember that not all fractures are of a person’s arm or leg. Trauma to the head, chest, spine, or pelvis can fracture bones such as the skull and ribs. And, if this isn’t bad enough, these fractures are further complicated by damage to the underlying body parts that the bone normally protects for example the lungs or brain.
Some of these fractures can be difficult to manage using first aid only as they may be life-threatening injuries. Always call 000 ( Ski Patrol ) if you suspect this type of fracture.
Signs and Symptoms of bone fracture
The symptoms of a fracture depend on the particular bone and the severity of the injury but may include:
Pain, swelling and bruising
Deformity or an inability to use the limb
A bone sticking out through the skin
Grating noise when the limb is moved
Complications of a fracture may include
Blood loss – bones have a rich blood supply. A bad break can make you lose a large amount of blood
Injuries to organs, tissues, or surrounding structures – for example, the brain can be damaged by a skull fracture. Chest organs can be injured if a rib breaks
Shock
Management
As with any First Aid incident, our primary action plan is DRSABCD and calling Ski Patrol or Triple Zero (000).
If you know the casualty has a broken bone, or you suspect a bone fracture you should
Keep the person still – do not move them unless there is an immediate danger, especially if you suspect a fracture of the skull, spine, ribs, pelvis, or upper leg
Attend to any bleeding wounds first. Stop the bleeding by pressing firmly on the site with a clean dressing.
If a bone is protruding, apply pressure around the edges of the wound
If bleeding is controlled, keep the wound covered with a clean dressing
Never try to straighten broken bones
For a limb fracture, provide support and comfort such as a pillow under the lower leg or forearm. However, do not cause further pain or unnecessary movement of the broken bone
Use a sling to support an arm or collarbone fracture
Raise the fractured area if possible and apply a cold pack to reduce swelling and pain. Do Not raise the fractured area if it causes the casualty further pain or discomfort
Stop the person from eating or drinking anything until they are seen by a doctor, in case they need surgery
Reassure and monitor their condition and if you feel you need medical help call triple zero (Ski Patrol) for an ambulance
Apply a splint to the fractured limb. Splints do not have to be professionally manufactured. Items like wooden boards and folded magazines can work for some fractures. You should immobilise the limb above and below the fracture using padding between the splint and the limb. If you can, apply two splints placing one on each side of the fracture.
It is also a good idea to use wide bandages if possible to check the casualty’s circulation in both the area of the injury and throughout their entire body.
For a fractured arm, support the limb with a sling.
Head Injuries – Concussion
A concussion is common in snowsports and can be challenging to identify and manage across sporting settings, from recreational environments to elite teams.
A concussion is a mild traumatic brain injury that follows some trauma to the head, is usually diagnosed by a doctor and symptoms of concussion can persist for up to three weeks after trauma.
Advise the casualty to be alert for any danger signs over the next one or two days, such as
persistent vomiting,
loss of coordination, or
bad or worsening headaches despite pain-relieving medication
Any trauma to the head may result in a concussion. And sometimes the signs and symptoms of concussion are difficult to recognise.
It is especially important that all casualties who have sustained a head injury, regardless of severity, seek assessment by a health care professional or at a hospital.
Well, that was a fairly large blog, but it has given you some excellent information ( If I do say so myself…) And for those unaware of the meaning of “Host a yard sale” when used in snow sports. According to the Urban Dictionary – “When a skier or snowboarder eats it on the slopes and loses all of their gear.”
If a skier loses his skis, poles, hat, goggles, and anything else, you can shout “YARD SALE” from the ski lift above him.